AstroGoBox – A Compact Control Box for Mobile Astrophotography

AstroGoBox featured image.

AstroGoBox is a compact, telescope-mounted control box designed to simplify and harden mobile astrophotography setups. It reduces cable chaos, increases USB reliability, and allows comfortable wireless control. This is especially convenient on cold nights.

The AstroGoBox is based on a Raspberry PI 4B which runs the standard Raspberry Pi OS Linux and uses the INDI protocol to control astronomical devices.

This article gives an overview about the AstroGoBox, the idea behind, its features and its tech stack.

Motivation: Improve the reliability of mobile astrophotography setups

Let me tell you a quick story. If you can find yourself in a similar situation this article is for you:

Once upon a time, there was a gnome who wanted to take pictures of the night sky.

At last—after weeks, or perhaps even months—there came a clear, almost moonless night. By a rare alignment of fate, the gnome also found the time to go outside and do some imaging. It was cold. The tripod felt like an ice cube. The gnome wired his notebook to his telescope equipment using several rather long USB cables that twisted across the ground like sleeping snakes.

Eventually, everything was connected: cameras, focuser, mount—every last device. Polar alignment was completed. The object of desire was located in the sky. The camera cooler was running, perfect focus was found, guiding was calibrated, and at last the machinery began to collect photons. The seeing was extraordinary, and the gnome was certain this session would produce glorious results.

While waiting, however, the gnome slowly began to resemble an ice cube himself. He thought longingly of a cup of hot tea in the tent. But would it be wise to leave the notebook unattended? Would the setup truly do its job? Shouldn’t the guiding be monitored? What if one of the cameras lost its connection to the computer? What if focus drifted? What if the mount limits failed and the telescope collided with the tripod in a terrible mechanical tragedy?

And so the engineer gnome decided to stay and watch. The only sounds were a distant barking dog and the gentle whirring of the mount.

About thirty minutes later, the gnome was no longer resembling an ice cube—he had become one. His fingers were stiff, and the cold began to crawl under his winter jacket. At last, he decided it was truly time for a cup of hot tea. The setup was running well, after all… so why shouldn’t it?

Inside the tent, it was cozy. The gnome enjoyed his steaming cup of tea, and for a few precious minutes, all was well. But then an uncomfortable feeling crept in. Was the setup still fine? Shouldn’t he go back and check? Just in case?

After a few minutes, he could bear it no longer. He put down his cup and went outside—just for a quick look.

When the gnome returned to the telescope, he became furious. The guiding had stopped. But why? After some investigation, he discovered that the USB connection to the guide camera had failed. Deprived of its electronic lifeline, PHD had stopped guiding in silent protest. The gnome restarted the software, hoping that only the last frame had been lost. But then he noticed something worse. The mount had lost track of the object entirely. It, too, had disconnected.

With a heavy sigh, the gnome began the alignment procedure once more. He relocated the target and tried to match the previous framing as closely as possible. By now, working at the computer had become nearly impossible—his hands were completely frozen. In the end, he lost at least one full hour of priceless imaging time to a single technical failure.

And as the mount finally resumed its slow, faithful tracking, the gnome once again asked himself the ancient and eternal question of astrophotographers everywhere:

“What in the world am I doing out here?”

And the moral of the story was this: Longer is not always better 😉

If you find yourself in the shoes of our little engineer, you are not alone. Me (and potentially a few others) had (and probably still have) this type of issues with their setup. It was one of those nights when the idea of the AstroGoBox was born.

Continue reading →

The Half Flux Diameter of a perfectly normal distributed star

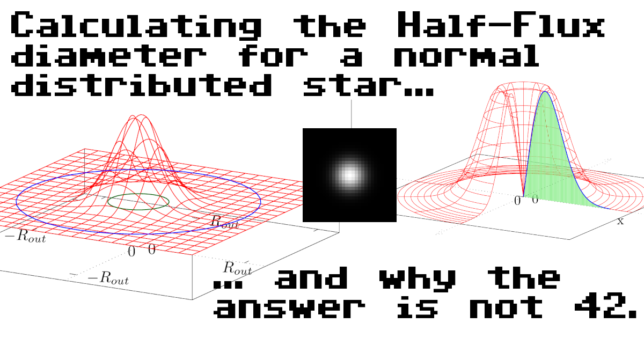
Calculating the Half Flux Diameter for a perfectly normal distributed star…

… and why the answer is not 42.

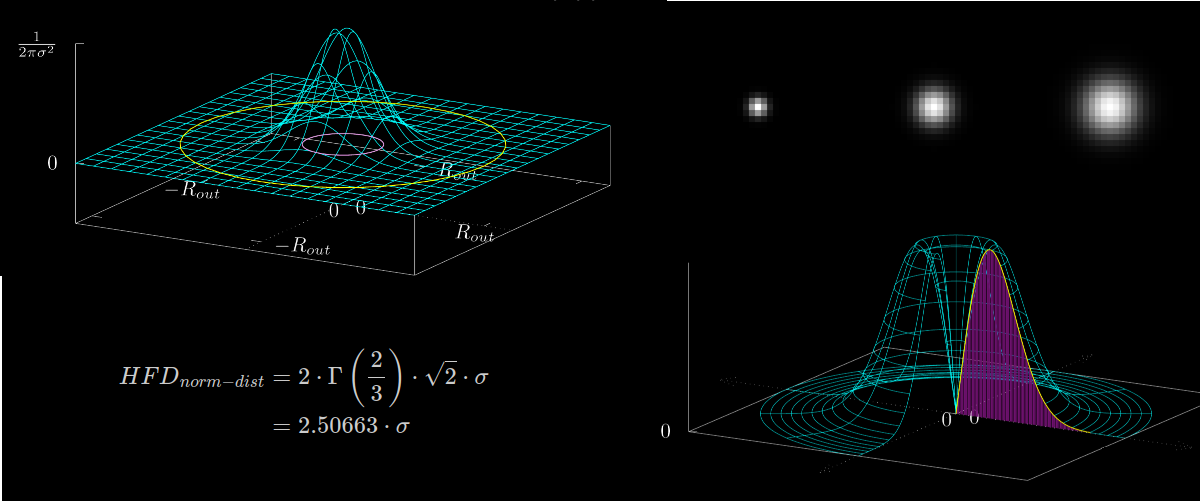
The goal of this article is to “manually” calculate the Half Flux Diameter (HFD) for a perfectly normal distributed star. Initially, I decided to add perfectly normal distributed stars with different σ values as additional unit tests to my focus finder software project. A few of those star images with σ=1, 2 and 3 are illustrated in figure 1.

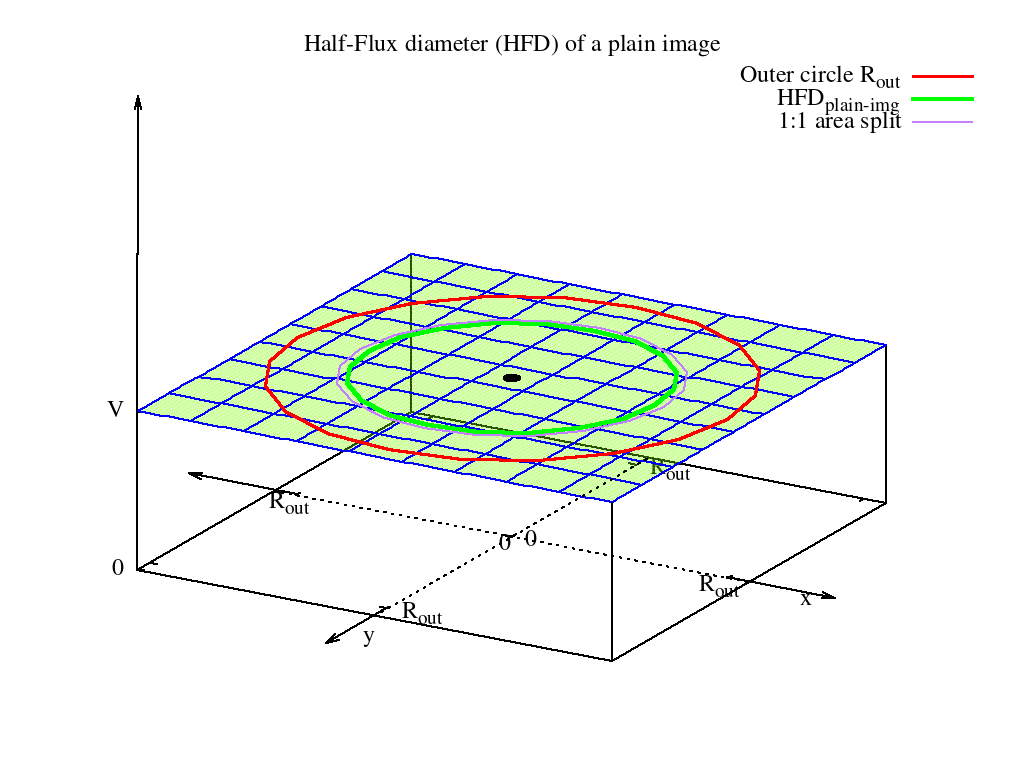
Previously, I examined the Half Flux diameter (HFD) for a plain image. In that article I cover some aspects in greater detail which I am reusing in this article. If something is unclear I recommend to read this article first.

σ=1
σ=2
σ=3

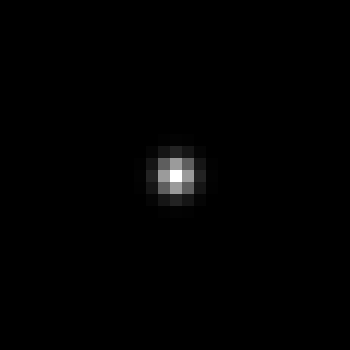
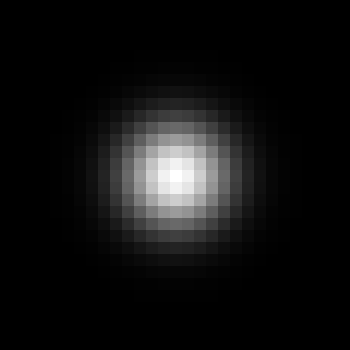
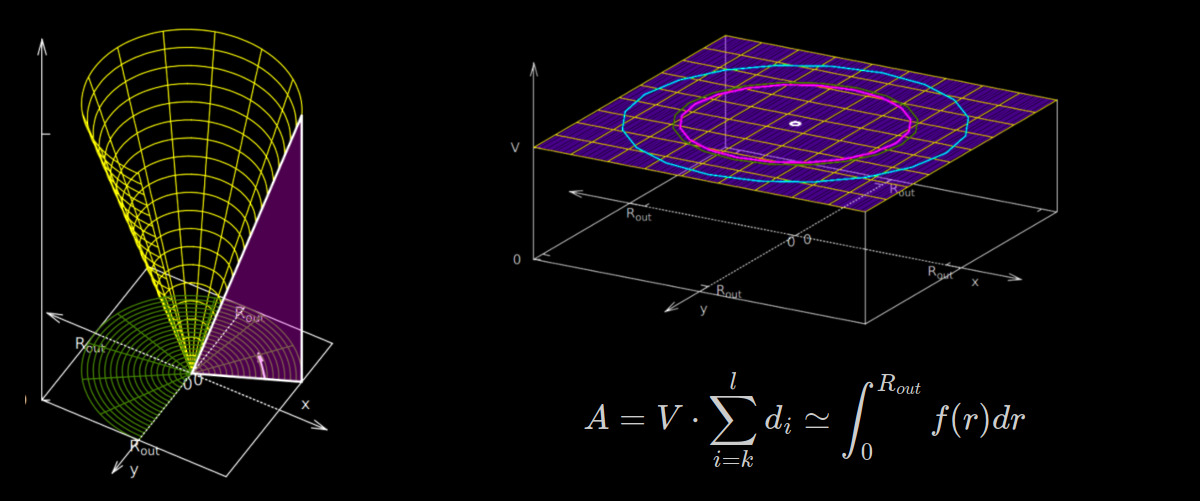
A 2D image can be represented in the 3D space where the $x$- and $y$-axis are used to express the position of the pixel and the $z$-axis to visualize the intensity (pixel value) – see figure 2 below.

Figure 2: The $x$- and $y$-axis represent the pixel position on the image plane, the $z$-axis represents the intensity $I$. The blue circle is the “outer circle” with radius $R_{out}$ up to which the pixel values are considered for the $HFD$ calculation. The green circle is the actual $HFD$ circle. The total volume under the surface is 1 (normalization factor is $\frac{1}{2\pi\sigma^2}$.

Following a similar approach like for the plain image, the Half Flux Diameter (HFD) for such an image will be derived in the following sections.

Quick summary

For those who just seek for the facts – here is a quick summary:

  • The Half Flux Diameter ($HFD$) for a perfectly normal distributed star is $HFD_{norm-dist} = 2 \cdot \Gamma\left(\frac{2}{3}\right) \cdot \sqrt{2} \cdot \sigma = 2.50663 \cdot \sigma$ where $\sigma$ is the variance of the distribution.
  • The result does not depend on $R_{out}$ and also not on the normalization factor of the distribution.
  • The expression was derived by converting the $HFD$ formula into an integral and inserting the normal distribution function as intensity (pixel value). The integral was solved by using a relation between the normal distribution and the $\Gamma$-function.
  • For the volume integration the second Pappus–Guldinus theorem is used.
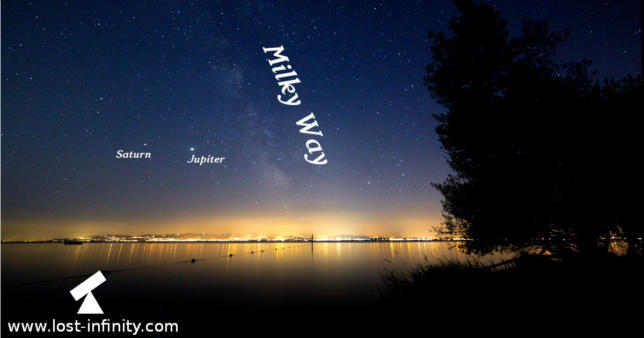
Continue reading →

The Half Flux Diameter (HFD) of a plain image

Why the Half Flux Diameter (HFD) is not exactly what it suggests… and why it probably does not matter in practice.

For people dealing with astronomical images the Half Flux Diameter (HFD) definitely is a well known parameter. In a few words, the HFD measures how well a star is focused. The measure is relatively robust and also works when the star is far out of focus. In another article I cover the basics of the HFD.

Strange things happening here…

HFD and I were best friends until I started to write some unit tests for the HFD calculation routine in the focus finder project. Basically, the idea was to test the calculation routine with some test images for which the expected outcome was well known. This should have proven that the implemented routine was working correctly. One of those test images was a plain image in which all pixel values had the same value (> 0). Given the definition of the HFD:

“The HFD is defined as the diameter of a circle that is centered on the unfocused star image in which half of the total star flux is inside the circle and half is outside.”

it should be easy to predict the expected outcome. Since the flux is equally distributed across the entire image, it seems obvious that – as the name suggests – the resulting Half Flux Diameter is the diameter for which a corresponding “inner circle” contains exactly 50% of the area. The other 50% of the area should be located in between the “inner” – and the “outer” circle. This is what I assumed in my previous article about the HFD. However, it turned out to be wrong and I unfortunately have to invalidate this part.

Instead, the HFD routine gave a different result. Even for big images (to reduce the error of discretization) the result was off by a mysterious factor of 1,060660172 to the expected value. This gave reason to have a closer look to this enigma…

Quick Summary

For those who just seek for the facts – here is a quick summary

  • The Half Flux Diameter (HFD) of a plain image is $HFD_{plain-img} = \frac{4}{3} \cdot R_{out}$.
  • The corresponding HFD circle does not exactly split the area of the “outer circle” 1:1 even if the definition of the HFD suggests this – in other words $HFD_{plain-img}$ is not exactly $\sqrt{2} \cdot R_{out}$.
  • The root cause lies in the definition of the HFD itself: Pixels far away from the image center are weighted stronger than those which are very close.

For a few more details and reasoning read on…

Continue reading →